
Control a Button
Your objective
- Turn the simulated LED on when the simulated button is pressed, and off when released.
Translations are draft and need educator review.
Drag blocks from the toolbox into the workspace. Connect statement blocks beneath Start. Use the zoom controls to see your program.
Loading workspace…
Ready
Run with the button released, press, then release. Let all 40 polls finish.
Stop ends the current run and keeps the current device state. Reset clears the device and output, keeping blocks.
Virtual LED
Teaching model: external active-high LED on GPIO 2 (HIGH = ON). Real board wiring differs. This simulation does not verify physical firmware.
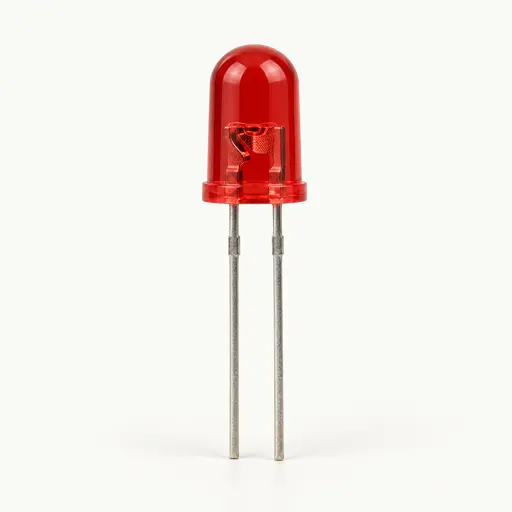
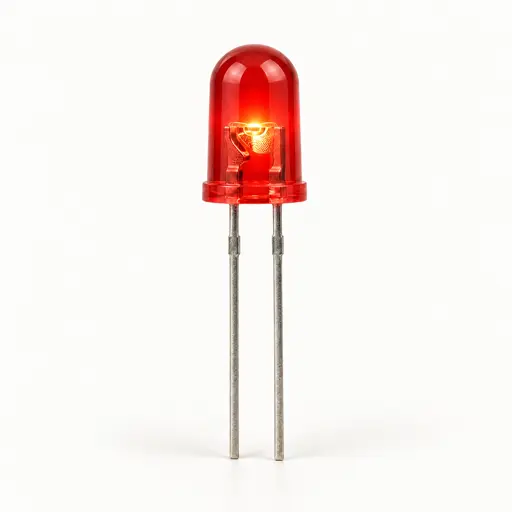
OFF · Ready · 0 ms
Execution output
Read-only code preview
Connect one Start and all supported blocks with valid values to preview or run.Editor keyboard and screen reader access has not been verified. The surrounding instructions and controls are keyboard accessible. Practical alternatives: run the preloaded starter program, import/export workspace JSON, or inspect the read-only JavaScript, MicroPython, and C++ code preview.